Lamenters Paint Scheme Part 1 – Assault Marine
Just wanted to document the process I am currently using to paint my Lamenters. First up, yellow is hard. It’s a major pain to get right. I have gone for a browner/darker yellow rather than a bright yellow. Second, I’m not the greatest painter as I haven’t been doing this for very long, but you might find something useful. My goal is to get a nice looking army on the tabletop and nothing more.
A few things on assembly and preparation. I would definitely magnetize the jump packs, or at least paint them separately. They make the shoulder pads really tricky to get right and doing seperate would make this a lot easier. My first 20 or so models were all glued on before hand they take a lot longer to paint. as a bonus for Blood Angels codex armies, you can run them on foot (though personally the reason I chose to run a BA codex army is the jump infantry.
Step 1: Prime the models. I do a two part prime, first with black to get into the shadows and then white from above. I would definately recommend a white primer when painting yellow. It takes just too many coats to get a decent coverage over black, though the new GW base colors might work if you want to go that way.

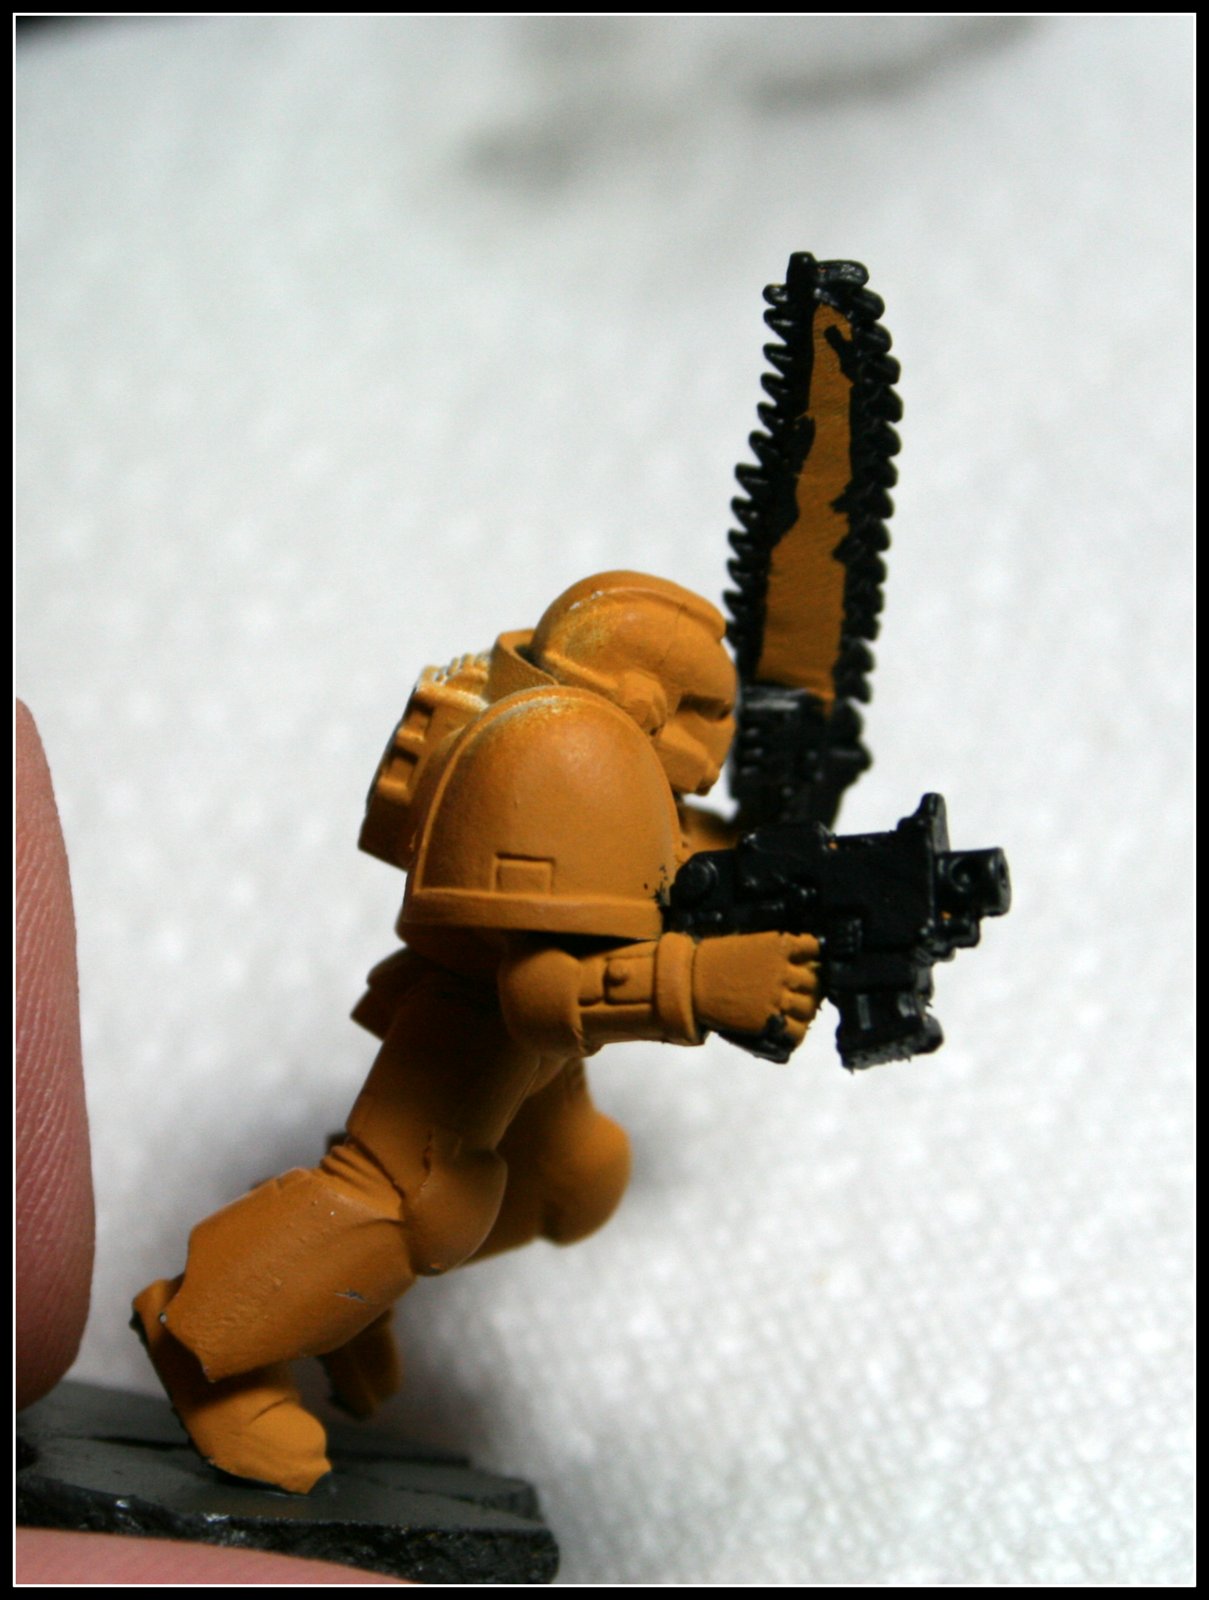
Step 2: Base Coat yellow. I used my airbrush to put down the base coat using Vallejo GC Heavy Ochre. You really need to water these down to put them through an airbrush as they are similar to the foundation line of paints from GW.

Step 3: Paint the base with Charadon Granite.

Step 4: Base coat everything that will be metallic with black. No need to be very neat here as we will be fixing all the messy brushing later in the process.

Step 5: Base coat white. I’m using the new GW base paint Ceramite White. It only takes 2-3 coats rather than 4-5 that most whites took. I had good luck in the past with using Vallejo off-white and then bringing it up to white, but this seems to work fairly well.

Step 6: Eyes. I do mine green starting with P3 Gnarls Green and then highlighting that with GW Scorpian Green. A wash of Thraka green wash brings it together nicely (not pictured here). Also note that I’m still being messy as this will get cleaned up later.

Step 7: Paint purity seals, aquila, etc with P3 Menoth White Base.

Step 8: Wash armor and aquila with Gryphonne Sepia wash. I apply this liberally, but you want to make sure you get a good coat in the cracks and recesses. Pictured here still wet. I generally would do this step last in a painting session to let dry overnight. You can do some of the later steps pictured here before this wash is done.

Step 9: Paint metallic areas with Boltgun Metal followed with a wash of Badab Black. Again not being too careful here, we can clean up still.

Step 10: Checks! This is where things get difficult. I use a 0.3mm drafting pencil to draw my lines in and then go in with black first. This will be tricky and I am still not super neat and tidy about it. Follow up with the Ceramite White to cleanup as best you can.


I will continue this later with part 2 where I go and finish up with highlights and cleanup the mess made so far.
Very nice tutorial. Checks are so hard to do but are impressive when complete. Look forward to part 2.